Following steps will guide you how to use woocommerce checkout field manager plugin
Step 1:
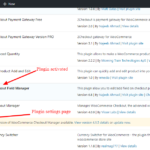
Once plugin is purchased, download it from your Member area and install this by uploading zip archive in plugin section. A new menu will appear in admin under ‘Settings’:
Step 2:
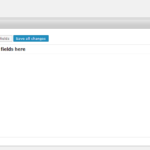
Open plugin settings and you will see three tabs: Bill, Shipping and Order. Click on ‘Load default billing fields’ to load all billing fields. Once the billing and shipping fields are loaded you can make changes in core fields like:
- Change labels
- Make fields required/not-required
- Remove fields
- Change field orders
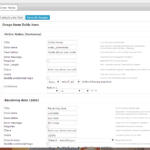
For Billing and Shipping three types of fields can be added to field manager, right panel like shown below:
Step 3:
Orders tab has best features in it. 12 types of different input can be used in this section. Once field is dragged into right panel it will be expanded with field settings like shown below:
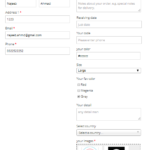
Finally, when all checkout fields are saved, these fields will be appeared on checkout page under their sections Billing, Shipping and Orders. Below screenshot describes how Billing fields are removed and set First Name and Last Name as not required. Also new fields are added into Order section:

