logo
How to Get APP IDs or API Keys for Social Networks

How to Get APP IDs or API Keys for Social Networks

[vc_row][vc_column][vc_cta h2=”This post is a guide to generate APP IDs or API Keys for Social Networks required by WordPress User Registration Plugin.” color=”mulled-wine” add_button=”bottom” btn_title=”WordPress User Registration Plugin” btn_color=”inverse” btn_size=”lg” btn_align=”center” btn_link=”url:https%3A%2F%2Fnajeebmedia.com%2Fwordpress-plugin%2Fwp-user-registration-form%2F|title:WordPress%20User%20Registration%20Form||”]WordPress User Registration Plugin now have option to Signup new user with Google, LinkedIn, Twitter and Facebook.[/vc_cta][/vc_column][/vc_row][vc_row][vc_column][vc_text_separator title=”How to create FaceBook APP ID” i_icon_fontawesome=”fa fa-facebook-official” color=”vista_blue” add_icon=”true”][vc_column_text]

  1. Visit developers.facebook.com/apps and select ‘Add a New App’ from the ‘Apps’ menu at the top.
  2. When the ‘Add a New App’ window pops up, click the ‘advanced setup’ link at the bottom.
  3. Type in a name (i.e. the name of your site), select a category, and click ‘Create App.’
  4. Go to the ‘Settings’ page and click ‘Add Platform,’ then ‘Website,’ then fill in your ‘Site URL.’
    Note: http://example.com/ and http://www.example.com/ are NOT the same.
  5. Also on the ‘Settings’ page, enter a Contact EMail, note the App ID and App Secret (you’ll need them in a minute), and save changes.
  6. Go to the ‘Status & Review’ page and make the app live (flip the switch at the top).
  7. Copy the App ID to the boxe below, and click the ‘Save’ button

[/vc_column_text][vc_video link=”https://vimeo.com/164107852″ align=”center” title=”Video Tutorial”][/vc_column][/vc_row][vc_row][vc_column][vc_text_separator title=”How to create Twitter APP ID and App Secret” i_icon_fontawesome=”fa fa-twitter” color=”vista_blue” add_icon=”true”][vc_video link=”https://www.youtube.com/watch?v=9ckccMDhtQI” align=”center” title=”Video Tutorial”][/vc_column][/vc_row][vc_row][vc_column][vc_text_separator title=”How to create Google Client ID” i_icon_fontawesome=”fa fa-google-plus” color=”vista_blue” add_icon=”true”][vc_column_text]

  1. Visiti https://console.developers.google.com/project
  2. Click on ‘Create Project’ button
  3. Type project name like ‘wp registration plugin’ and location as your need.
  4. Click ‘Create’ Button
  5. Now select ‘wp registration plugin’ project from projects list
  6. Now click ‘Credentials’ from left panel
  7. Click on blue button ‘Create Credentials’ from right side panel and select ‘OAuth Client ID’ option
  8. Select ‘Web Application’ option under Application Type
  9. Set following URLs to your site/domain name
    1. Authorised JavaScript origins
    2. Authorised redirect URIs
  10. Finally click on ‘Create’ button.
  11. And from next screen you can copy Client ID and paste into Plugin where it’s required.

[/vc_column_text][/vc_column][/vc_row][vc_row][vc_column][vc_text_separator title=”How to create LinkedIn API Key” i_icon_fontawesome=”fa fa-linkedin” color=”vista_blue” add_icon=”true”][vc_column_text]

1. Log into the developer portal

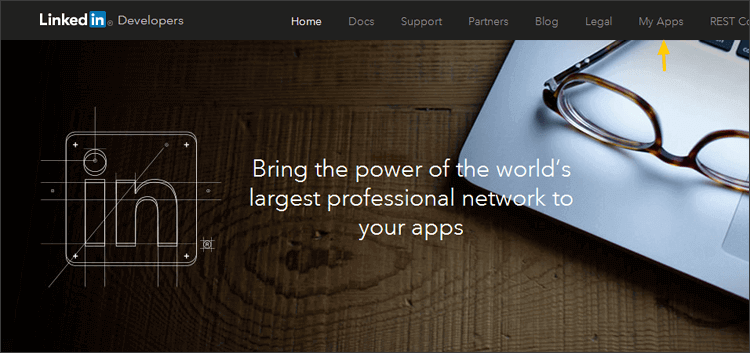
Login to the LinkedIn Developer portal and click My Apps:

2. Create your app

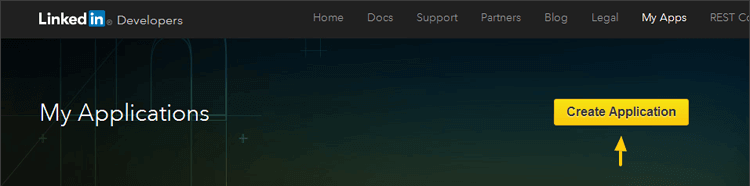
Click Create Application:
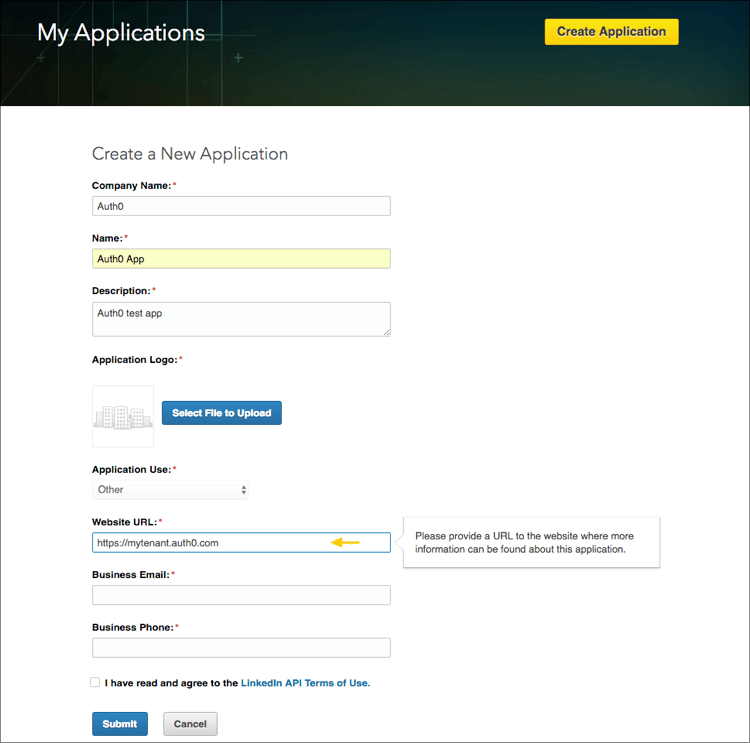
3. Complete information about your app

Complete the form.

Enter the following URL in the Website URL field:

https://YOURDOMAIN.COM

Click Submit.

4. Get your Client ID and Client Secret

On the same page, your Client ID and Client Secret will be displayed:

5. JavaScript Enable

  1. Click on JavaScript Tab on left panel and ‘Add’ your domain.

[/vc_column_text][/vc_column][/vc_row]