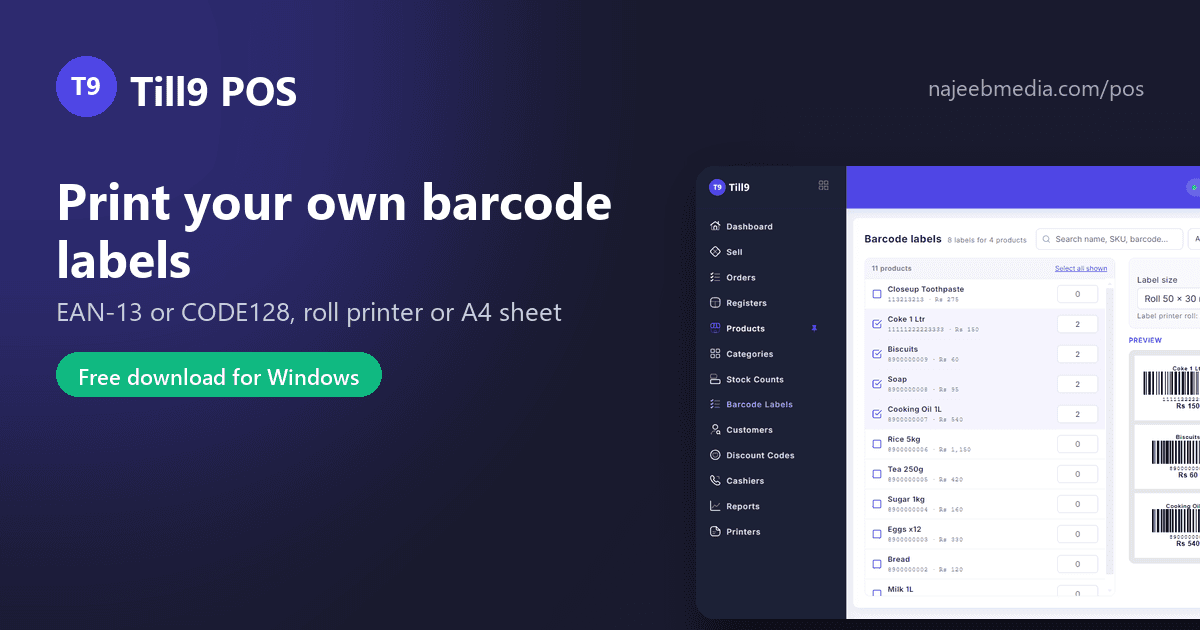
Half the products in a kiryana, a bakery or a garments shop arrive without a barcode: loose items, repacked goods, local brands, anything sold by the piece from a sack. If the cashier has to search for them by name, the scanner is only doing half the job. This guide prints your own labels so every item scans.
Open the product in Till9. If it already has a manufacturer barcode (the 13-digit EAN on the packet), enter it in the Barcode field, or simply scan the packet into the field. If it has none, give it a short SKU such as RICE-5KG or BRD-WHT. Till9 encodes whichever you have: a valid 13-digit barcode becomes an EAN-13, anything else becomes a CODE128, which every scanner reads.
Tip: a 13-digit barcode starting with 2 is reserved for in-store use, so a shop can invent its own numbers in that range without ever clashing with a real product.
Go to Barcode labels in the sidebar, or tick products on the Products page and press Print labels. Pick the label size: a roll size prints one label per page on a label printer; an A4 sheet layout fills a grid. Set how many of each label you want (one per unit on the shelf, or a handful for the drawer). Each label carries the shop name, the product name, the price and the barcode.
Press Print. The labels go through the normal Windows print dialog, so choose the label printer or the A4 printer and print. For a roll printer set the paper size once in its driver to match the roll; Till9 then prints one label per page. The label printer settings live under Settings, Receipts & Printers, Label printer.
Stick the label on, open the sell screen and scan it. Till9 matches both barcodes and SKUs, so the item lands in the cart with its price. Scanning works on every screen: scan a product while you are on the Products page and Till9 jumps to the sell screen with it in the cart.
Label printing is part of the Economy and Business plans and open to everyone during the first 14 days after install. Download Till9 free for Windows: najeebmedia.com/pos.